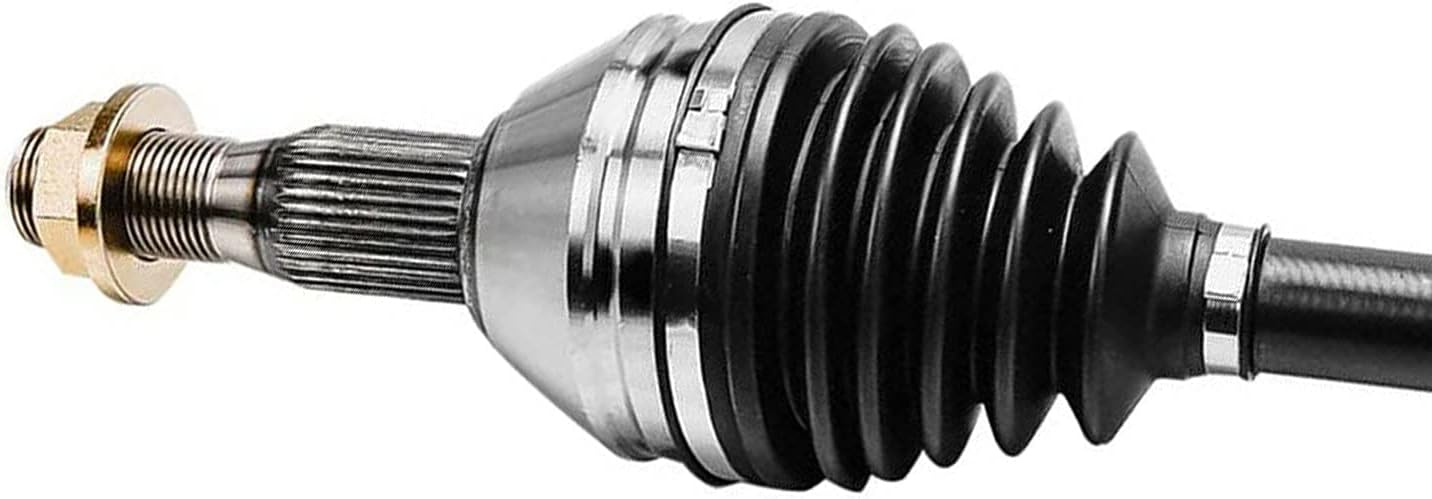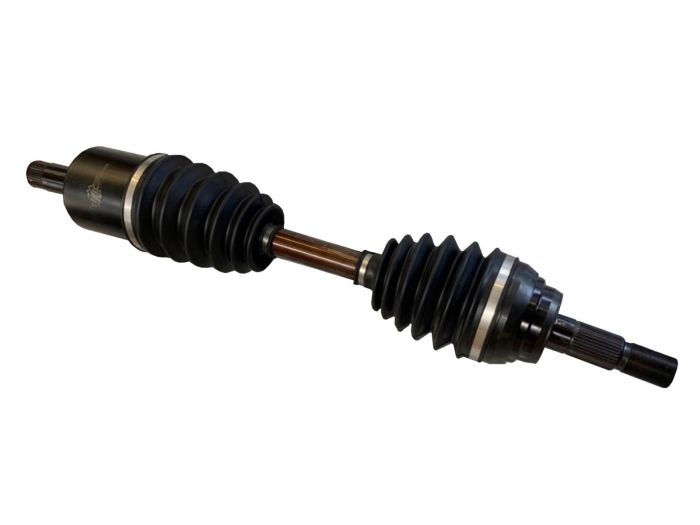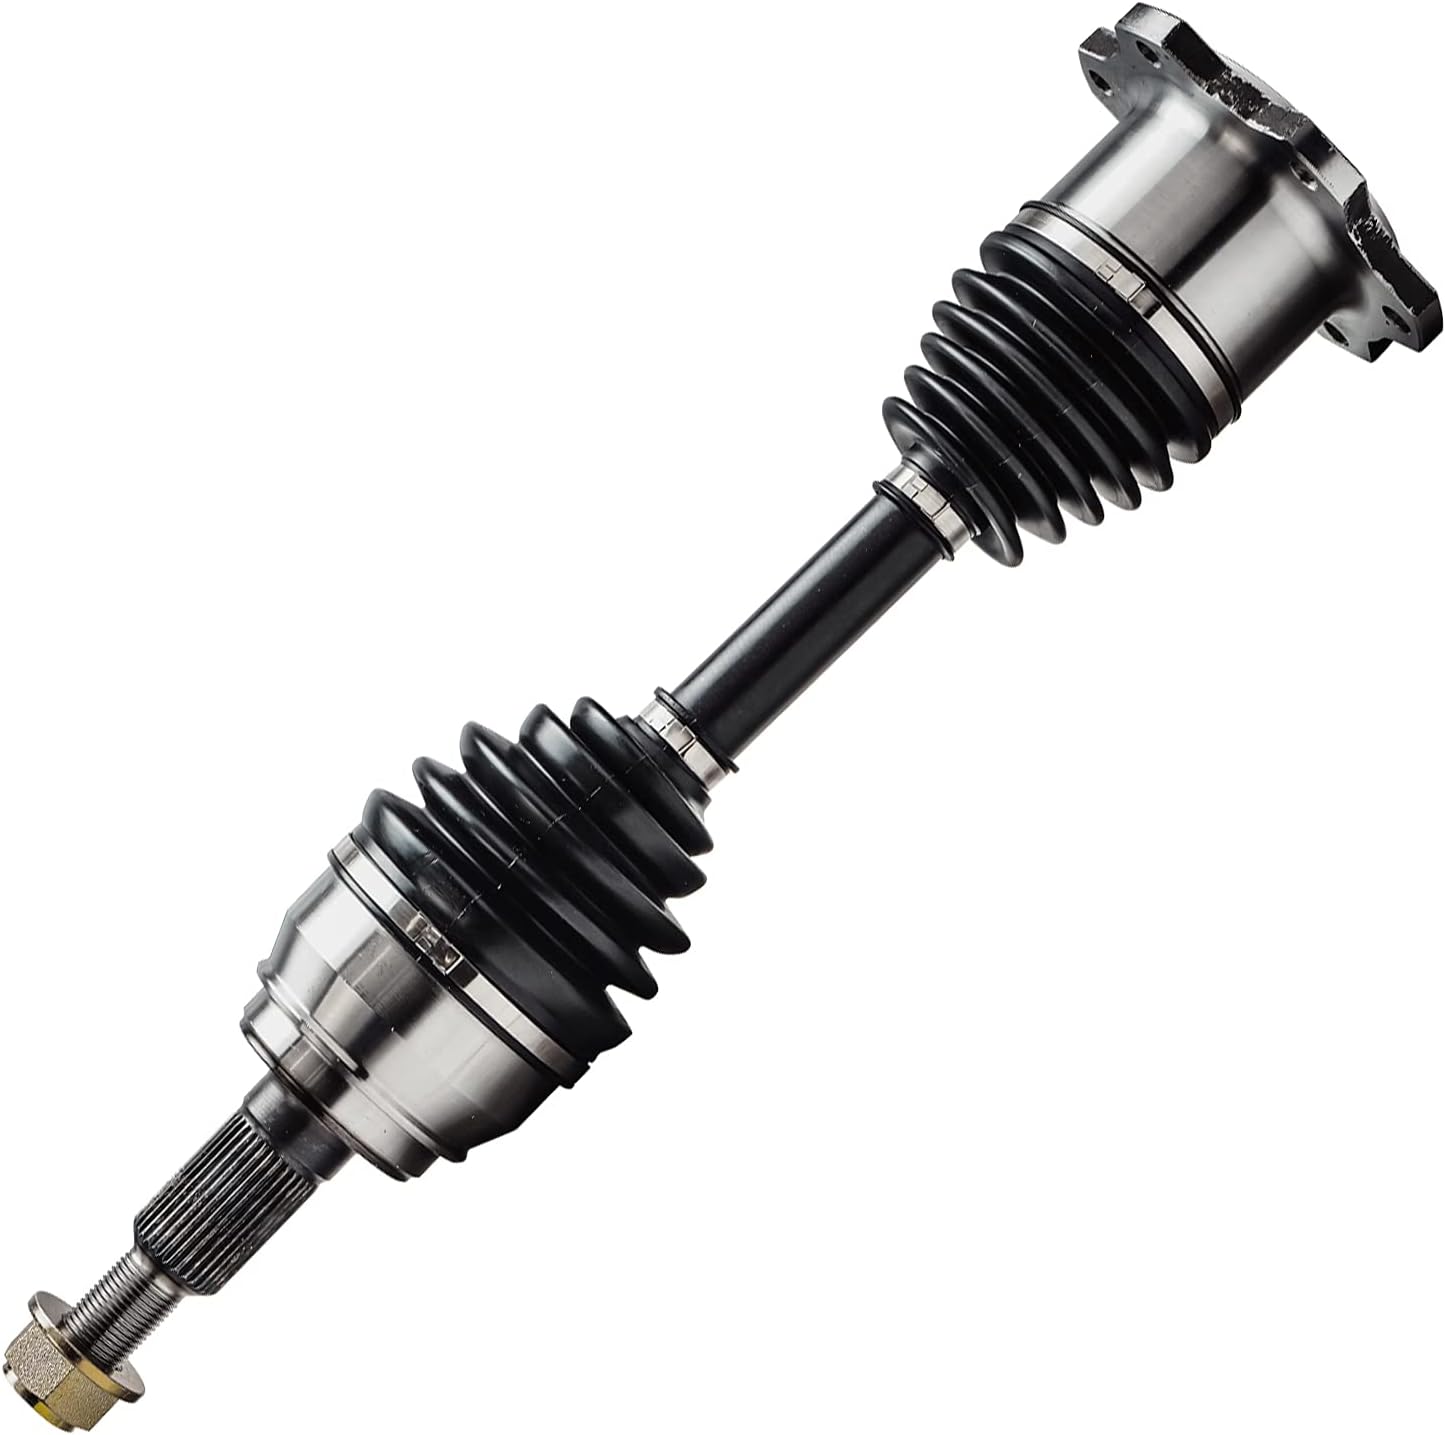
How do I determine the correct CV axle length for my modified or customized vehicle?
When it comes to modified or customized vehicles, determining the correct CV axle length is essential to ensure proper fitment, functionality, and optimal performance. Here’s an explanation of how you can determine the correct CV axle length for your modified or customized vehicle:
1. Consult with a Suspension Specialist or Mechanic:
It is highly recommended to consult with a suspension specialist or a qualified mechanic who has experience with modified or customized vehicles. They have the expertise and knowledge to assess your specific vehicle modifications and provide guidance on the correct CV axle length required. They can take into account factors such as suspension lift, wheel travel, geometry changes, and other modifications to determine the appropriate axle length.
2. Measure Existing Axle Length:
If you are replacing an existing CV axle and want to ensure that the new axle has the correct length, you can measure the existing axle to use as a reference. Follow these steps:
- Jack up the vehicle and secure it on jack stands.
- Remove the wheel and brake assembly to access the CV axle.
- Measure the length of the CV axle from the center of the inner CV joint to the center of the outer CV joint.
- Take note of the measurement for reference when selecting the new CV axle.
3. Consider Suspension Geometry:
When modifying or customizing a vehicle’s suspension, changes in suspension geometry can affect the required CV axle length. Factors such as suspension lift, altered suspension components, and changes in ride height need to be taken into account. Modifying the suspension can result in changes to the angle and position of the CV axles, which may require longer or shorter axles to maintain proper alignment and operation.
4. Seek Guidance from Aftermarket Manufacturers:
Aftermarket manufacturers and suppliers specializing in modified or customized vehicles may offer specific CV axles designed for certain modifications. They can provide guidance on the correct axle length based on your vehicle’s specific modifications. Research reputable aftermarket brands and reach out to their customer support or consult their product catalogs to find CV axles suitable for your modified or customized vehicle.
5. Test Fitment and Professional Installation:
Once you have determined the appropriate CV axle length based on the above considerations, it is recommended to test fit the axle before final installation. This involves temporarily fitting the axle to ensure proper alignment, engagement with the CV joints, and adequate suspension travel. If necessary, make any adjustments or seek professional assistance to ensure the correct fitment and functionality of the CV axle.
In summary, determining the correct CV axle length for a modified or customized vehicle requires consulting with suspension specialists or mechanics, measuring existing axle length as a reference, considering suspension geometry changes, seeking guidance from aftermarket manufacturers, and conducting test fitment. Proper selection and installation of the CV axle are crucial to ensure optimal performance and reliability in your modified or customized vehicle.

How often should CV axles be inspected and replaced as part of routine maintenance?
As part of routine maintenance, it’s important to regularly inspect CV axles to identify any signs of damage, wear, or potential issues. The frequency of inspection and replacement can vary depending on several factors, including the vehicle make and model, driving conditions, and manufacturer recommendations. Here’s a general guideline on how often CV axles should be inspected and replaced:
Inspection:
CV axles should be inspected at regular intervals to detect any early warning signs of damage or wear. A visual inspection can be performed during routine maintenance checks, such as oil changes or tire rotations. It’s recommended to inspect the CV axles at least once a year or every 12,000 to 15,000 miles (19,000 to 24,000 kilometers) as a general guideline.
However, certain driving conditions may require more frequent inspections. For example, if you frequently drive on rough or unpaved roads, or if you engage in off-road activities, more frequent inspections may be necessary due to the increased risk of damage or accelerated wear.
During the inspection, it’s important to check for the following signs of potential CV axle issues:
- Cracked or torn CV boots
- Leaking grease or lubricant
- Clicking, popping, or clunking noises when turning
- Vibrations or shuddering during acceleration
- Excessive play or looseness in the CV joints
If any of these signs are observed, further inspection by a qualified mechanic is recommended to assess the condition of the CV axles and determine if replacement is necessary.
Replacement:
The replacement interval for CV axles can vary depending on factors such as the vehicle’s age, mileage, driving conditions, and the specific recommendations of the vehicle manufacturer. In general, CV axles may need to be replaced between 80,000 to 150,000 miles (129,000 to 241,000 kilometers) or after 5 to 10 years of use.
However, it’s important to note that CV axles can fail prematurely due to various factors such as driving habits, environmental conditions, and maintenance history. If any signs of CV axle damage or failure are detected during the inspection or if there is a sudden and significant change in vehicle performance or handling, immediate replacement may be necessary regardless of the mileage or age of the axles.
It’s recommended to follow the maintenance schedule provided by the vehicle manufacturer for specific guidance on CV axle inspection and replacement intervals. Consulting with a trusted mechanic or automotive professional can also provide valuable insights and recommendations based on their expertise and knowledge of your vehicle.
Regular inspection and timely replacement of worn or damaged CV axles are crucial for maintaining the performance, safety, and reliability of your vehicle’s drivetrain.

Can you explain the symptoms of a failing CV axle and how to diagnose the issue?
When a CV axle starts to fail, it can exhibit several symptoms that indicate potential issues. Recognizing these symptoms and properly diagnosing the problem is essential for timely repairs. Here’s an explanation of the symptoms of a failing CV axle and how to diagnose the issue:
Symptoms of a Failing CV Axle:
1. Clicking or popping sounds: One of the most common symptoms of a failing CV axle is a clicking or popping sound, especially when making turns. This sound may indicate that the CV joint is worn or damaged, causing it to bind or catch during rotation.
2. Vibration or shuddering: A failing CV axle can cause vibrations or shuddering felt in the vehicle’s steering wheel or floorboard. These vibrations are often most noticeable during acceleration, particularly when turning or maneuvering at low speeds.
3. Grease leakage: Inspect the CV axle boots for any signs of grease leakage. Damaged or torn CV boots can allow grease to escape, exposing the CV joints to dirt, debris, and moisture. This can lead to accelerated wear and eventual failure of the CV axle.
4. Excessive vibration during acceleration: If you experience strong vibrations during acceleration, it may indicate an issue with the CV axle. Damaged CV joints can cause the axle to become imbalanced, resulting in vibrations that intensify as the vehicle accelerates.
5. Difficulty in turning: A failing CV axle can make it difficult to turn the vehicle, especially at lower speeds. You may notice increased resistance or a jerking sensation when trying to steer.
6. Visible damage or excessive wear: Inspect the CV axle visually for any visible damage, such as cracks, tears, or excessive wear on the CV boots or joints. Physical damage or wear can impair the functionality of the CV axle and lead to failure.
Diagnosing a Failing CV Axle:
To diagnose a failing CV axle, you can perform the following steps:
1. Visual inspection: Inspect the CV axle visually for any signs of damage, leakage, or excessive wear. Look for cracks, tears, or loose components. Pay close attention to the CV boots and joints, as they are common areas of failure.
2. Listening for noises: While driving, listen for clicking, popping, or grinding sounds, especially during turns. These noises can indicate worn or damaged CV joints.
3. Test drive: Take the vehicle for a test drive and pay attention to any vibrations, shuddering, or difficulty in turning. Note when these symptoms occur, such as during acceleration, deceleration, or turns, as it can provide valuable information for diagnosis.
4. Inspection of CV boots: If you suspect a failing CV axle, inspect the CV boots for damage or leaks. Grease leakage or torn boots can be indicative of a failing CV joint.
5. Professional inspection: If you are uncertain about the diagnosis or lack the necessary tools and experience, it is recommended to have a qualified mechanic or technician inspect the CV axle. They can perform more in-depth diagnostics, such as checking for excessive play or movement in the CV joints, using specialized tools.
Remember, early detection and repair of a failing CV axle are crucial to prevent further damage to the drivetrain and ensure safe operation of the vehicle. If you suspect a failing CV axle based on the symptoms described, it is recommended to seek professional assistance for an accurate diagnosis and appropriate repairs.


editor by CX 2024-04-16